SDR receiver
Introduction
This is a simple SDR receiver that can be used with GNU Radio.
This application requires the Zmod Digitizer module to be connected to the ZMOD A connector of the USB104 A7 board.
Hardware
The implementation of the SDR receiver is quite straightforward:
- An antenna is connected to one of the inputs of the Zmod Digitizer module
- The on-board ADC (122.88 MS/s sampling frequency, 14-bit resolution) digitizes the RF signal from the antenna
- The data coming from the ADC is processed by a in-phase/quadrature (I/Q) digital down-converter (DDC) running on the FPGA
The tunable frequency range covers from 0 Hz to 122.88 MHz.
The I/Q data rate is configurable and five settings are available: 24, 48, 96, 192, 384, 768 and 1536 kSPS.
The basic blocks of the digital down-converter (DDC) are shown in the following diagram:

The projects/sdr_receiver directory contains two Tcl files: block_design.tcl, rx.tcl. The code in these files instantiates, configures and interconnects all the needed IP cores.
Software
The projects/sdr_receiver/server directory contains the source code of the ZMQ server (sdr-receiver.py) that receives control commands and transmits the I/Q data streams to the SDR programs.
The projects/sdr_receiver/gnuradio directory directory contains flowgraph configuration examples for GNU Radio Companion.
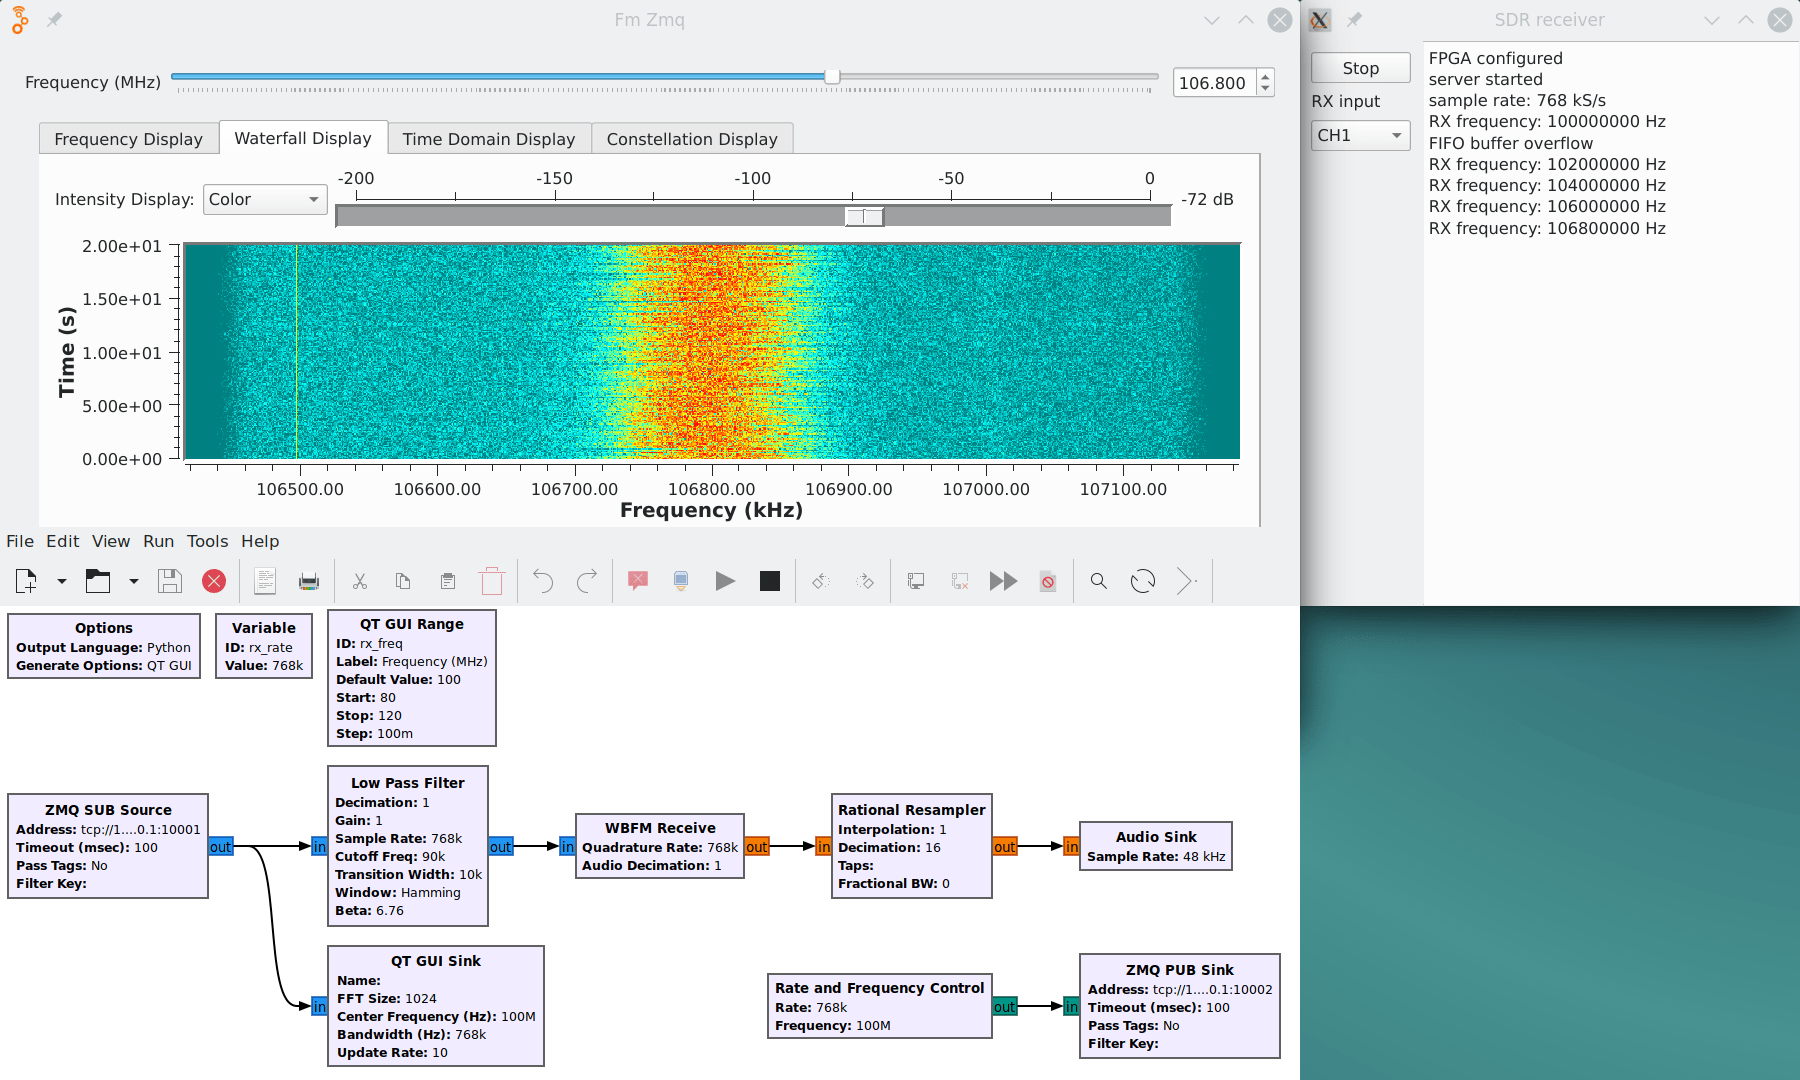
The screenshot below shows GNU Radio Companion running the FM receiver flow graph (fm_zmq.grc) and communicating with the ZMQ server (sdr-receiver.py).

Getting started with GNU Radio on Windows
- Connect an antenna to the CH1 connector of the Zmod Digitizer module
- Connect the USB104 A7 board to a USB port
- Download and unpack the release zip file
- Install the WinUSB driver for the USB interface of the USB104 A7 board (USB ID
0403:6010and0403:6014) using Zadig - Run the
sdr-receiver.exeprogram - Press the Start button
- Download and install radioconda
- Run GNU Radio Companion and open the FM receiver flow graph (fm_zmq.grc)
Getting started with GNU Radio on Linux
- Connect an antenna to the CH1 connector of the Zmod Digitizer module
- Connect the USB104 A7 board to a USB port
- Install GNU Radio and python3-libusb1:
sudo apt-get install gnuradio python3-usb1- Install pyhubio:
pip install pyhubio- Clone the source code repository:
git clone https://github.com/pavel-demin/usb104-a7-notes
cd usb104-a7-notes- Build the
sdr_receiver.bitbitstream file for FPGA configuration:
make NAME=sdr_receiver bit- Run GNU Radio Companion and open the FM receiver flow graph (fm_usb.grc):
cp tmp/sdr_receiver.bit projects/sdr_receiver/gnuradio
cd projects/sdr_receiver/gnuradio
gnuradio-companion fm_usb.grc
Building from source
The structure of the source code and of the development chain is described at this link.
Setting up the Vitis and Vivado environment:
source /opt/Xilinx/2025.1/Vitis/settings64.shCloning the source code repository:
git clone https://github.com/pavel-demin/usb104-a7-notes
cd usb104-a7-notes
Building sdr_receiver.bit:
make NAME=sdr_receiver bitConfiguring the FPGA:
make NAME=sdr_receiver run