Vector Network Analyzer
Interesting links
Some interesting links on network analyzers:
Hardware
The basic blocks of the system are shown in the following diagram:

The projects/vna directory contains one Tcl file block_design.tcl that instantiates, configures and interconnects all the needed IP cores.
Software
The projects/vna/server directory contains the source code of the TCP server (vna.c) that receives control commands and transmits the data to the control program running on a remote PC.
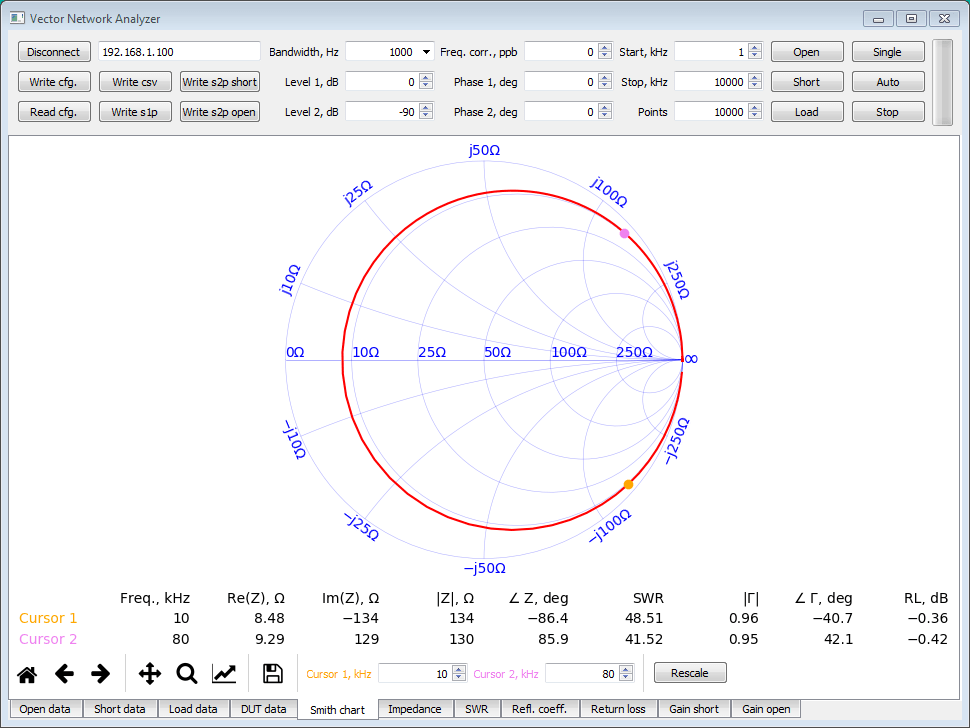
The projects/vna/client directory contains the source code of the control program (vna.py).

Getting started with MS Windows
- Download SD card image zip file (more details about the SD card image can be found at this link).
- Copy the contents of the SD card image zip file to a micro SD card.
- Optionally, to start the application automatically at boot time, copy its
start.shfile fromapps/vnato the topmost directory on the SD card. - Install the micro SD card in the Red Pitaya board and connect the power.
- Download and unpack the release zip file.
- Run the
vna.exeprogram in thecontroldirectory. - Type in the IP address of the Red Pitaya board and press Connect button.
- Perform calibration and measurements.
Getting started with GNU/Linux
- Download SD card image zip file (more details about the SD card image can be found at this link).
- Copy the contents of the SD card image zip file to a micro SD card.
- Optionally, to start the application automatically at boot time, copy its
start.shfile fromapps/vnato the topmost directory on the SD card. - Install the micro SD card in the Red Pitaya board and connect the power.
- Install required Python libraries:
sudo apt-get install python3-numpy python3-matplotlib python3-pyqt6- Clone the source code repository:
git clone https://github.com/pavel-demin/red-pitaya-notes- Run the control program:
cd red-pitaya-notes/projects/vna/client
python3 vna.py- Type in the IP address of the Red Pitaya board and press Connect button.
- Perform calibration and measurements.
Building from source
The installation of the development machine is described at this link.
The structure of the source code and of the development chain is described at this link.
Setting up the Vitis and Vivado environment:
source /opt/Xilinx/2025.2/Vitis/settings64.shCloning the source code repository:
git clone https://github.com/pavel-demin/red-pitaya-notes
cd red-pitaya-notes
Building vna.bit:
make NAME=vna bitBuilding SD card image zip file:
source helpers/build-all.sh